Ingredients
Scale
- 1 1/3 cups Randall Great Northern Beans
- Fresh rolled or refrigerated pie crust,
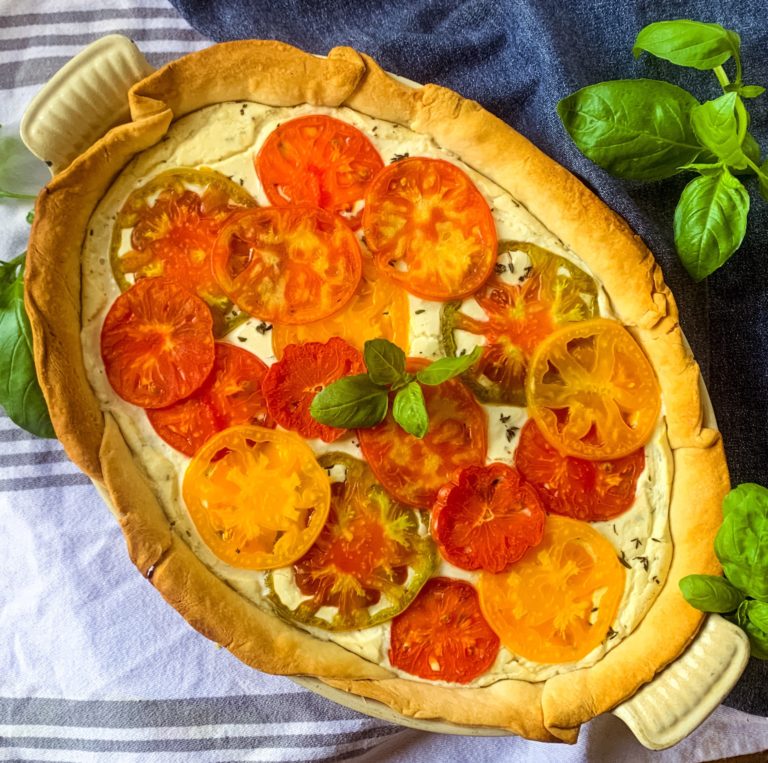
- 2 lbs. mixed heirloom tomatoes
- 8 oz. crumbled goat cheese
- 8 oz. mascarpone cheese
- Zest and juice of one Lemon
- 1 Tbsp. fresh rosemary
- 1 Tbsp. fresh thyme
- Fresh basil leaves for garnish
- Sea salt and ground pepper to taste
Instructions
- Preheat oven according to pie crust directions. Grease 9-inch pie pan and prep crust, pressing evenly around edges and poking a few holes in the bottom with a fork. Chill in fridge while prepping filling.
- Thinly slice heirloom tomatoes. Sprinkle with salt and place on paper towels to help drain excess liquid (no one likes a soggy pie).
- Strip from stems and finely chop both thyme and rosemary.
- Drain Randall Great Northern Beans and put in a small saucepan on the stove over medium high heat. Add lemon juice and zest, rosemary, and thyme. Cook, stirring often, until heated through and liquid has been absorbed.
- Transfer to a food processor with goat cheese and mascarpone cheese. Add freshly ground sea salt and pepper to taste, and pulse until mixture is smooth.
- To the chilled, unbaked pie crust, spoon in half the bean and cheese mixture.
- Cover in a layer of overlapping tomatoes slices, reserving enough to top the pie.
- Pour remaining bean and cheese mixture over the top of the tomato layer, smoothing with a spatula.
- Top pie with remaining tomato slices, alternating sizes and colors.
- Bake for 35 to 40 minutes, or until crust is lightly browned. Cover with tin foil if the crust begins to color too quickly.
- Remove from oven and let cool to room temperature.
- Before serving, roll basil leaves and chiffonade to garnish pie.
- Cut into slices and enjoy!